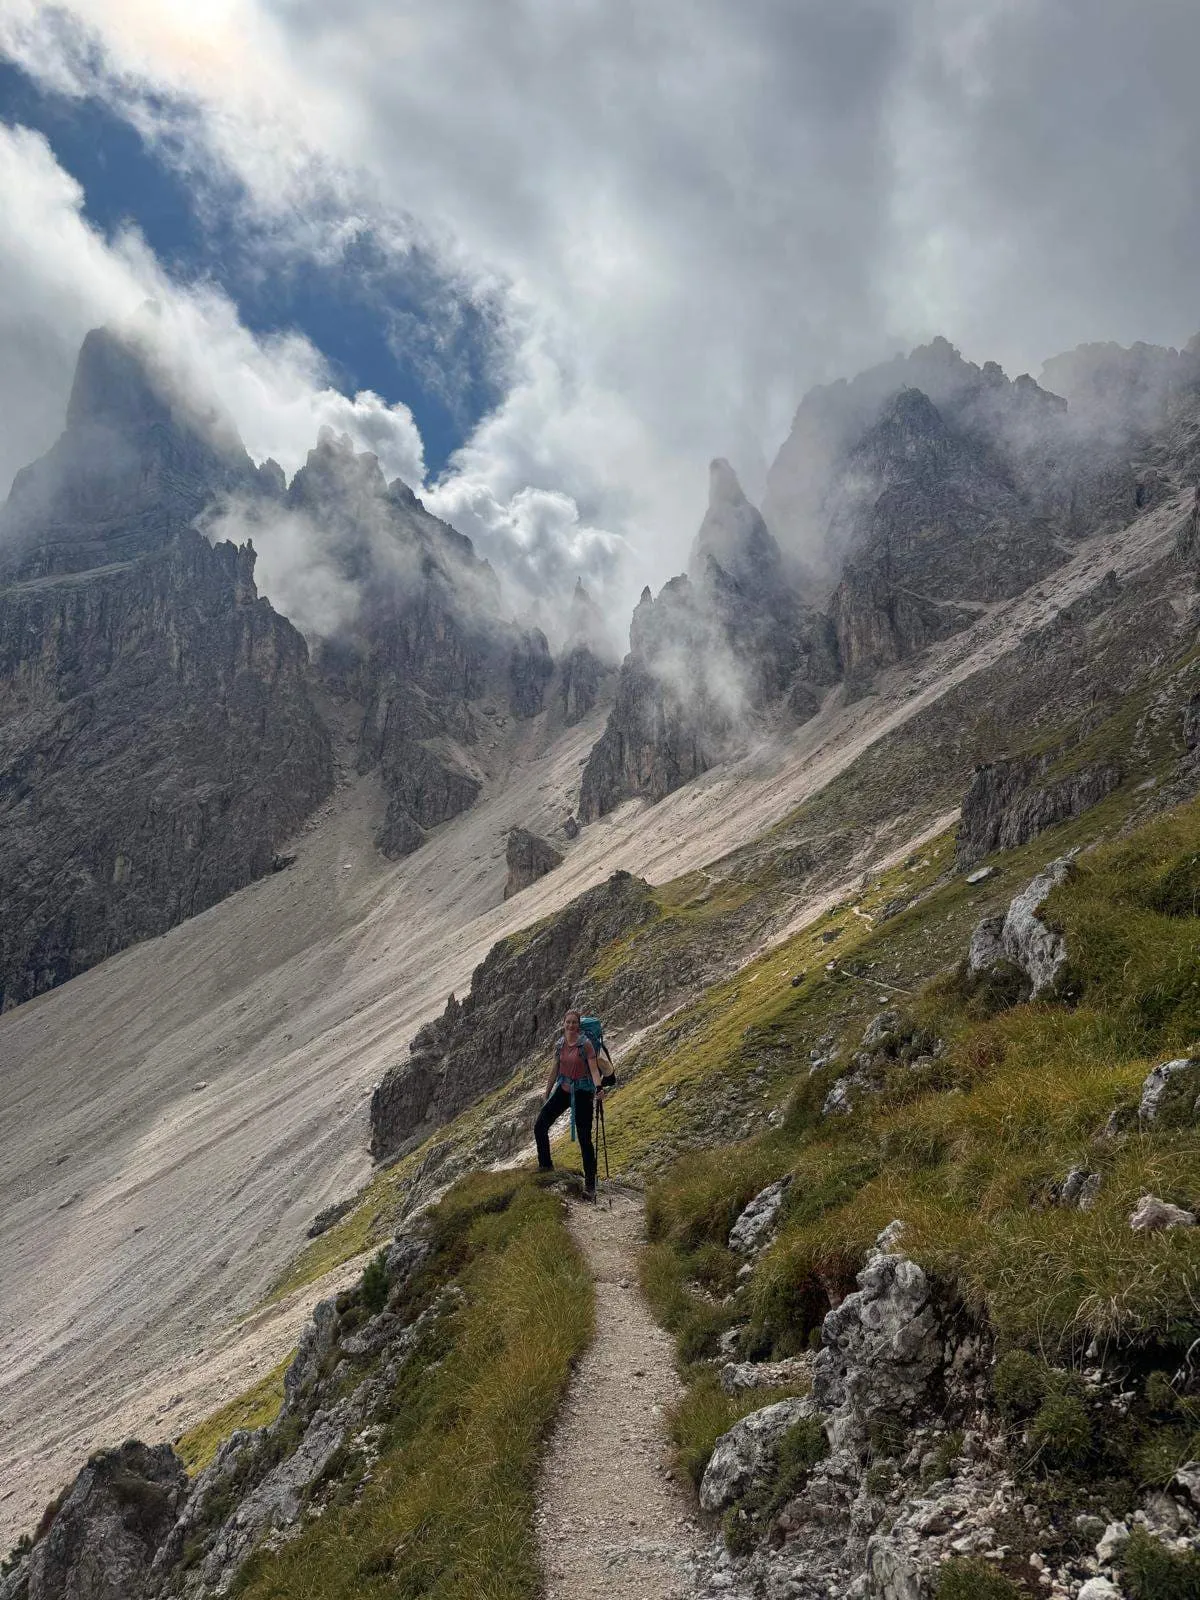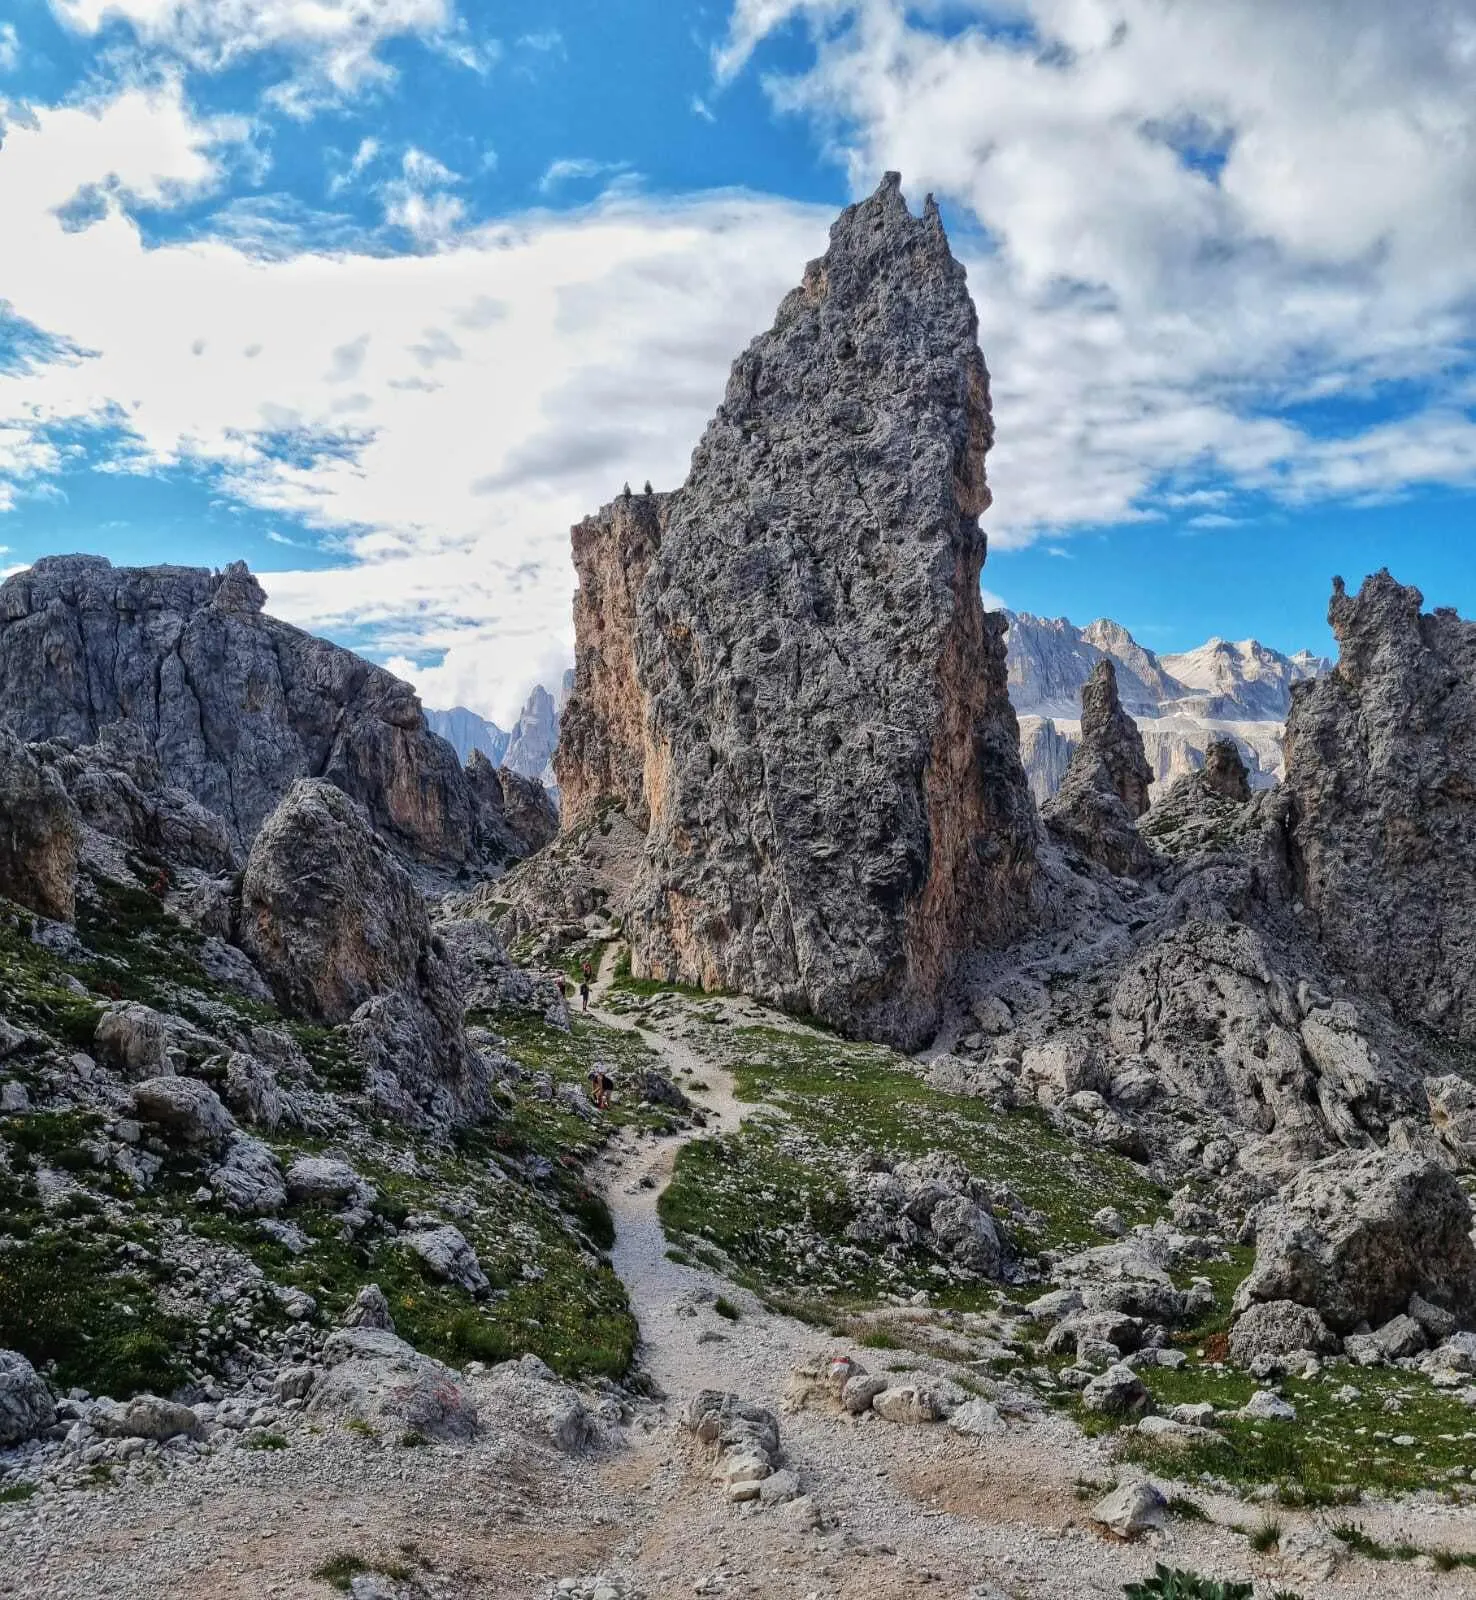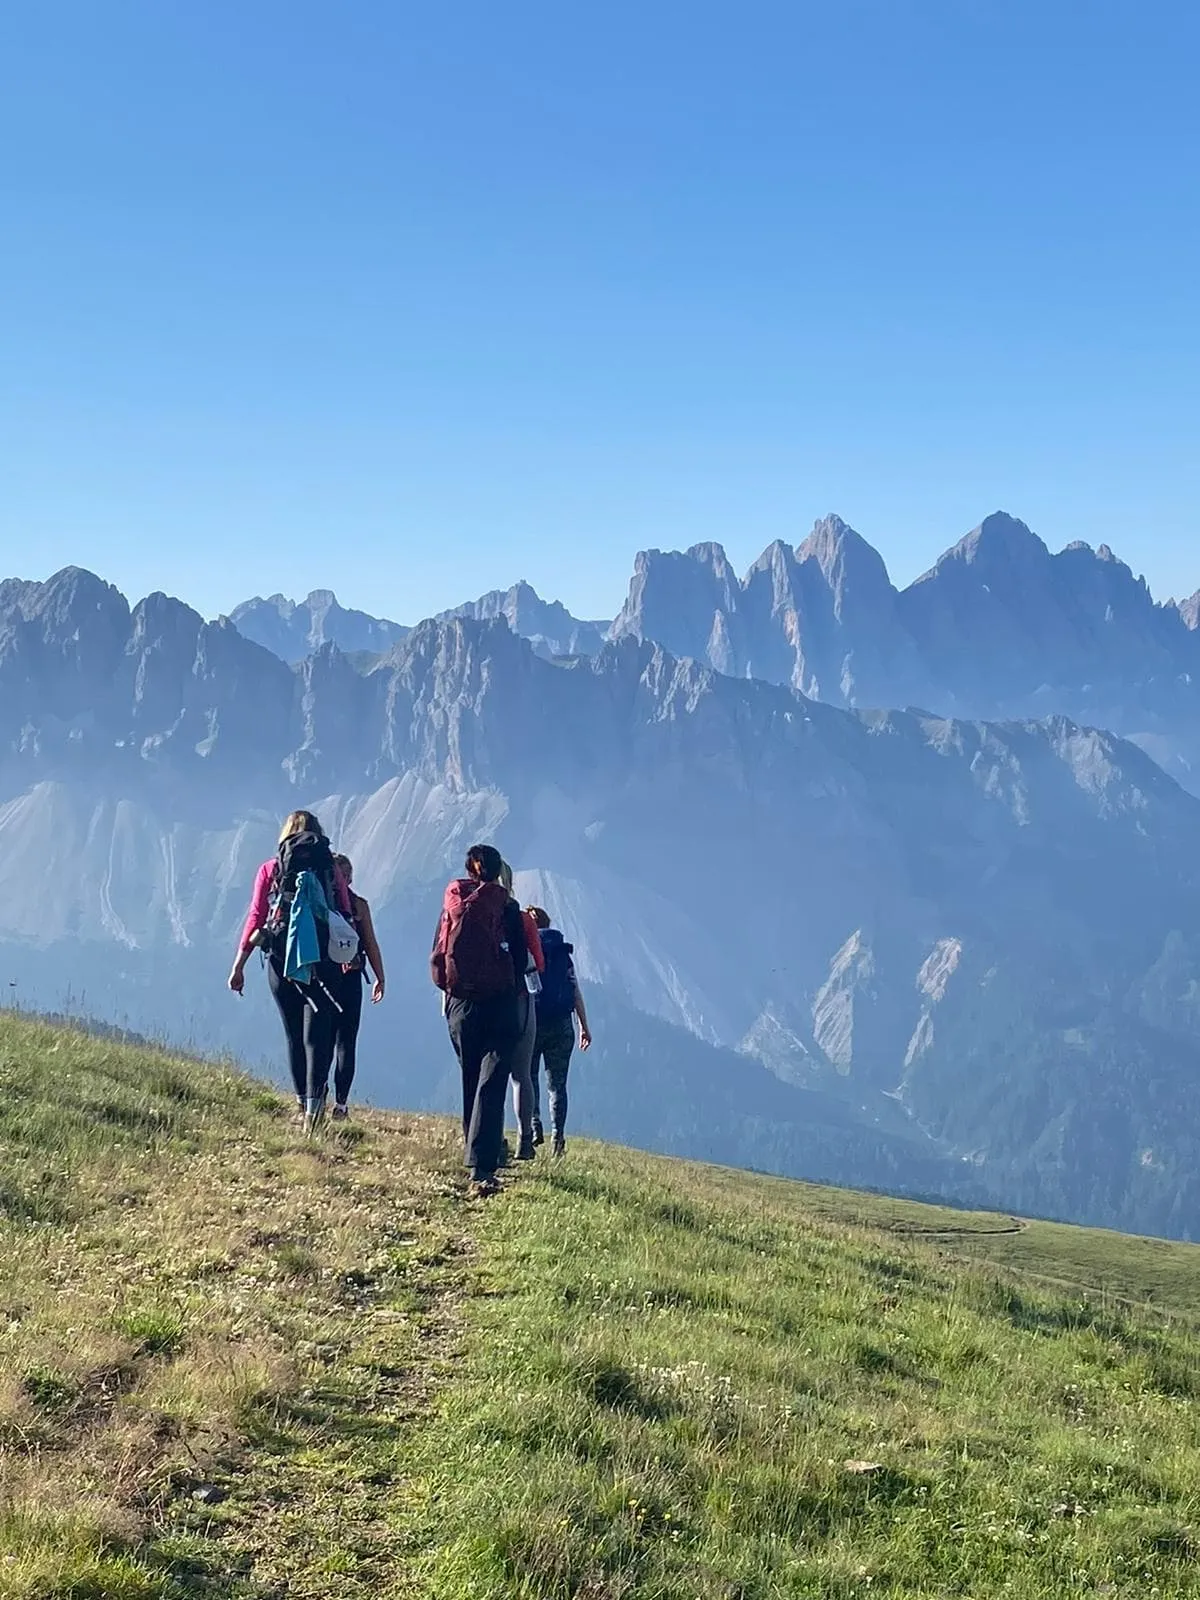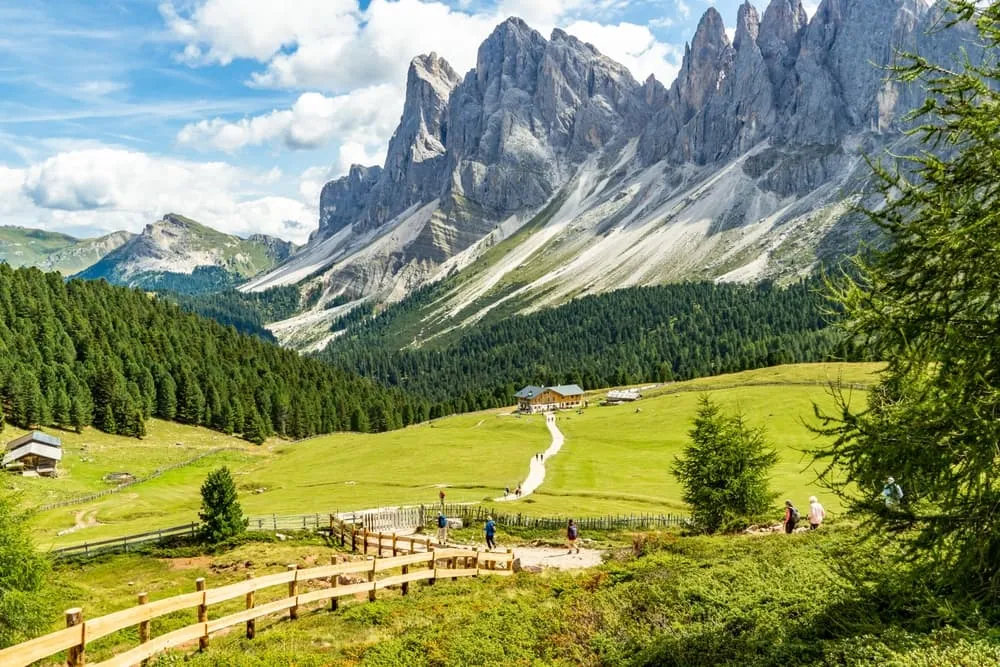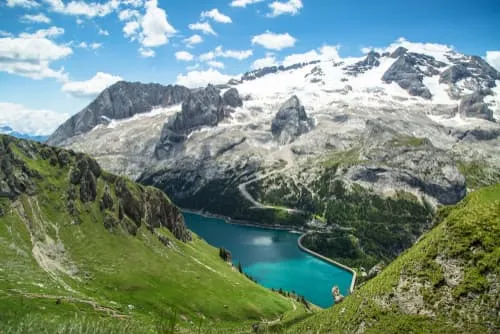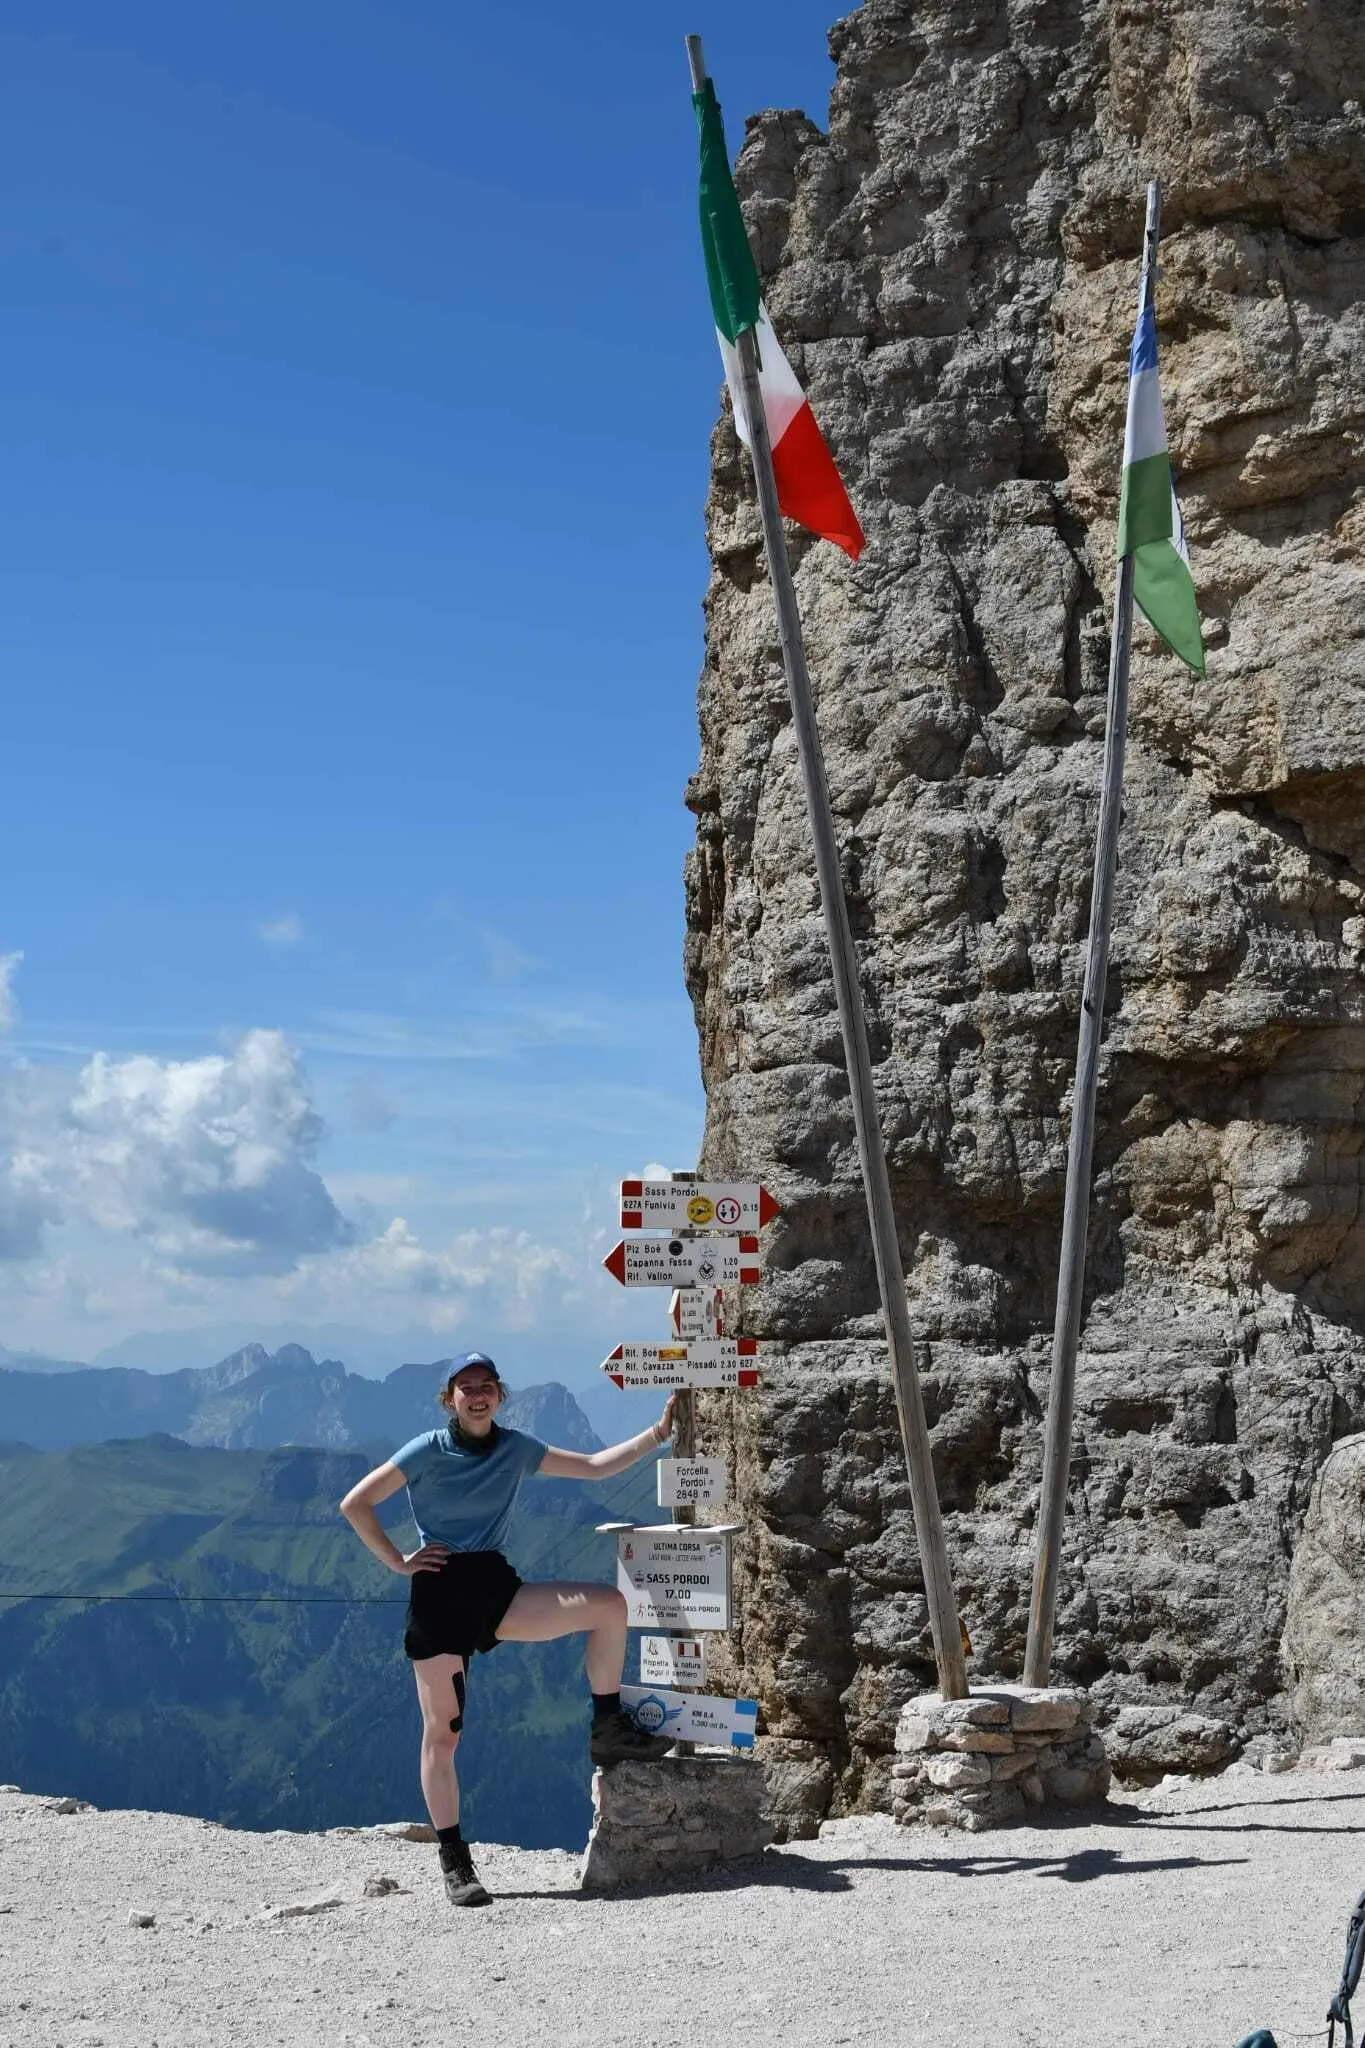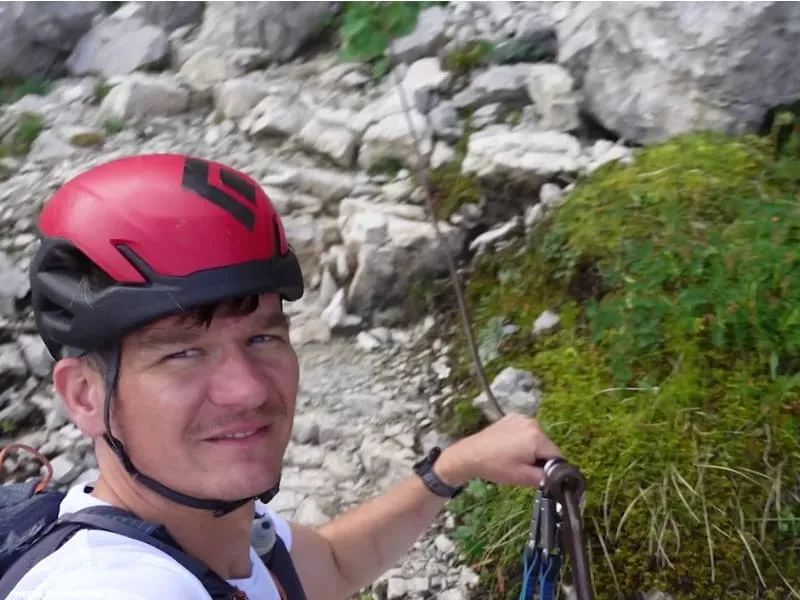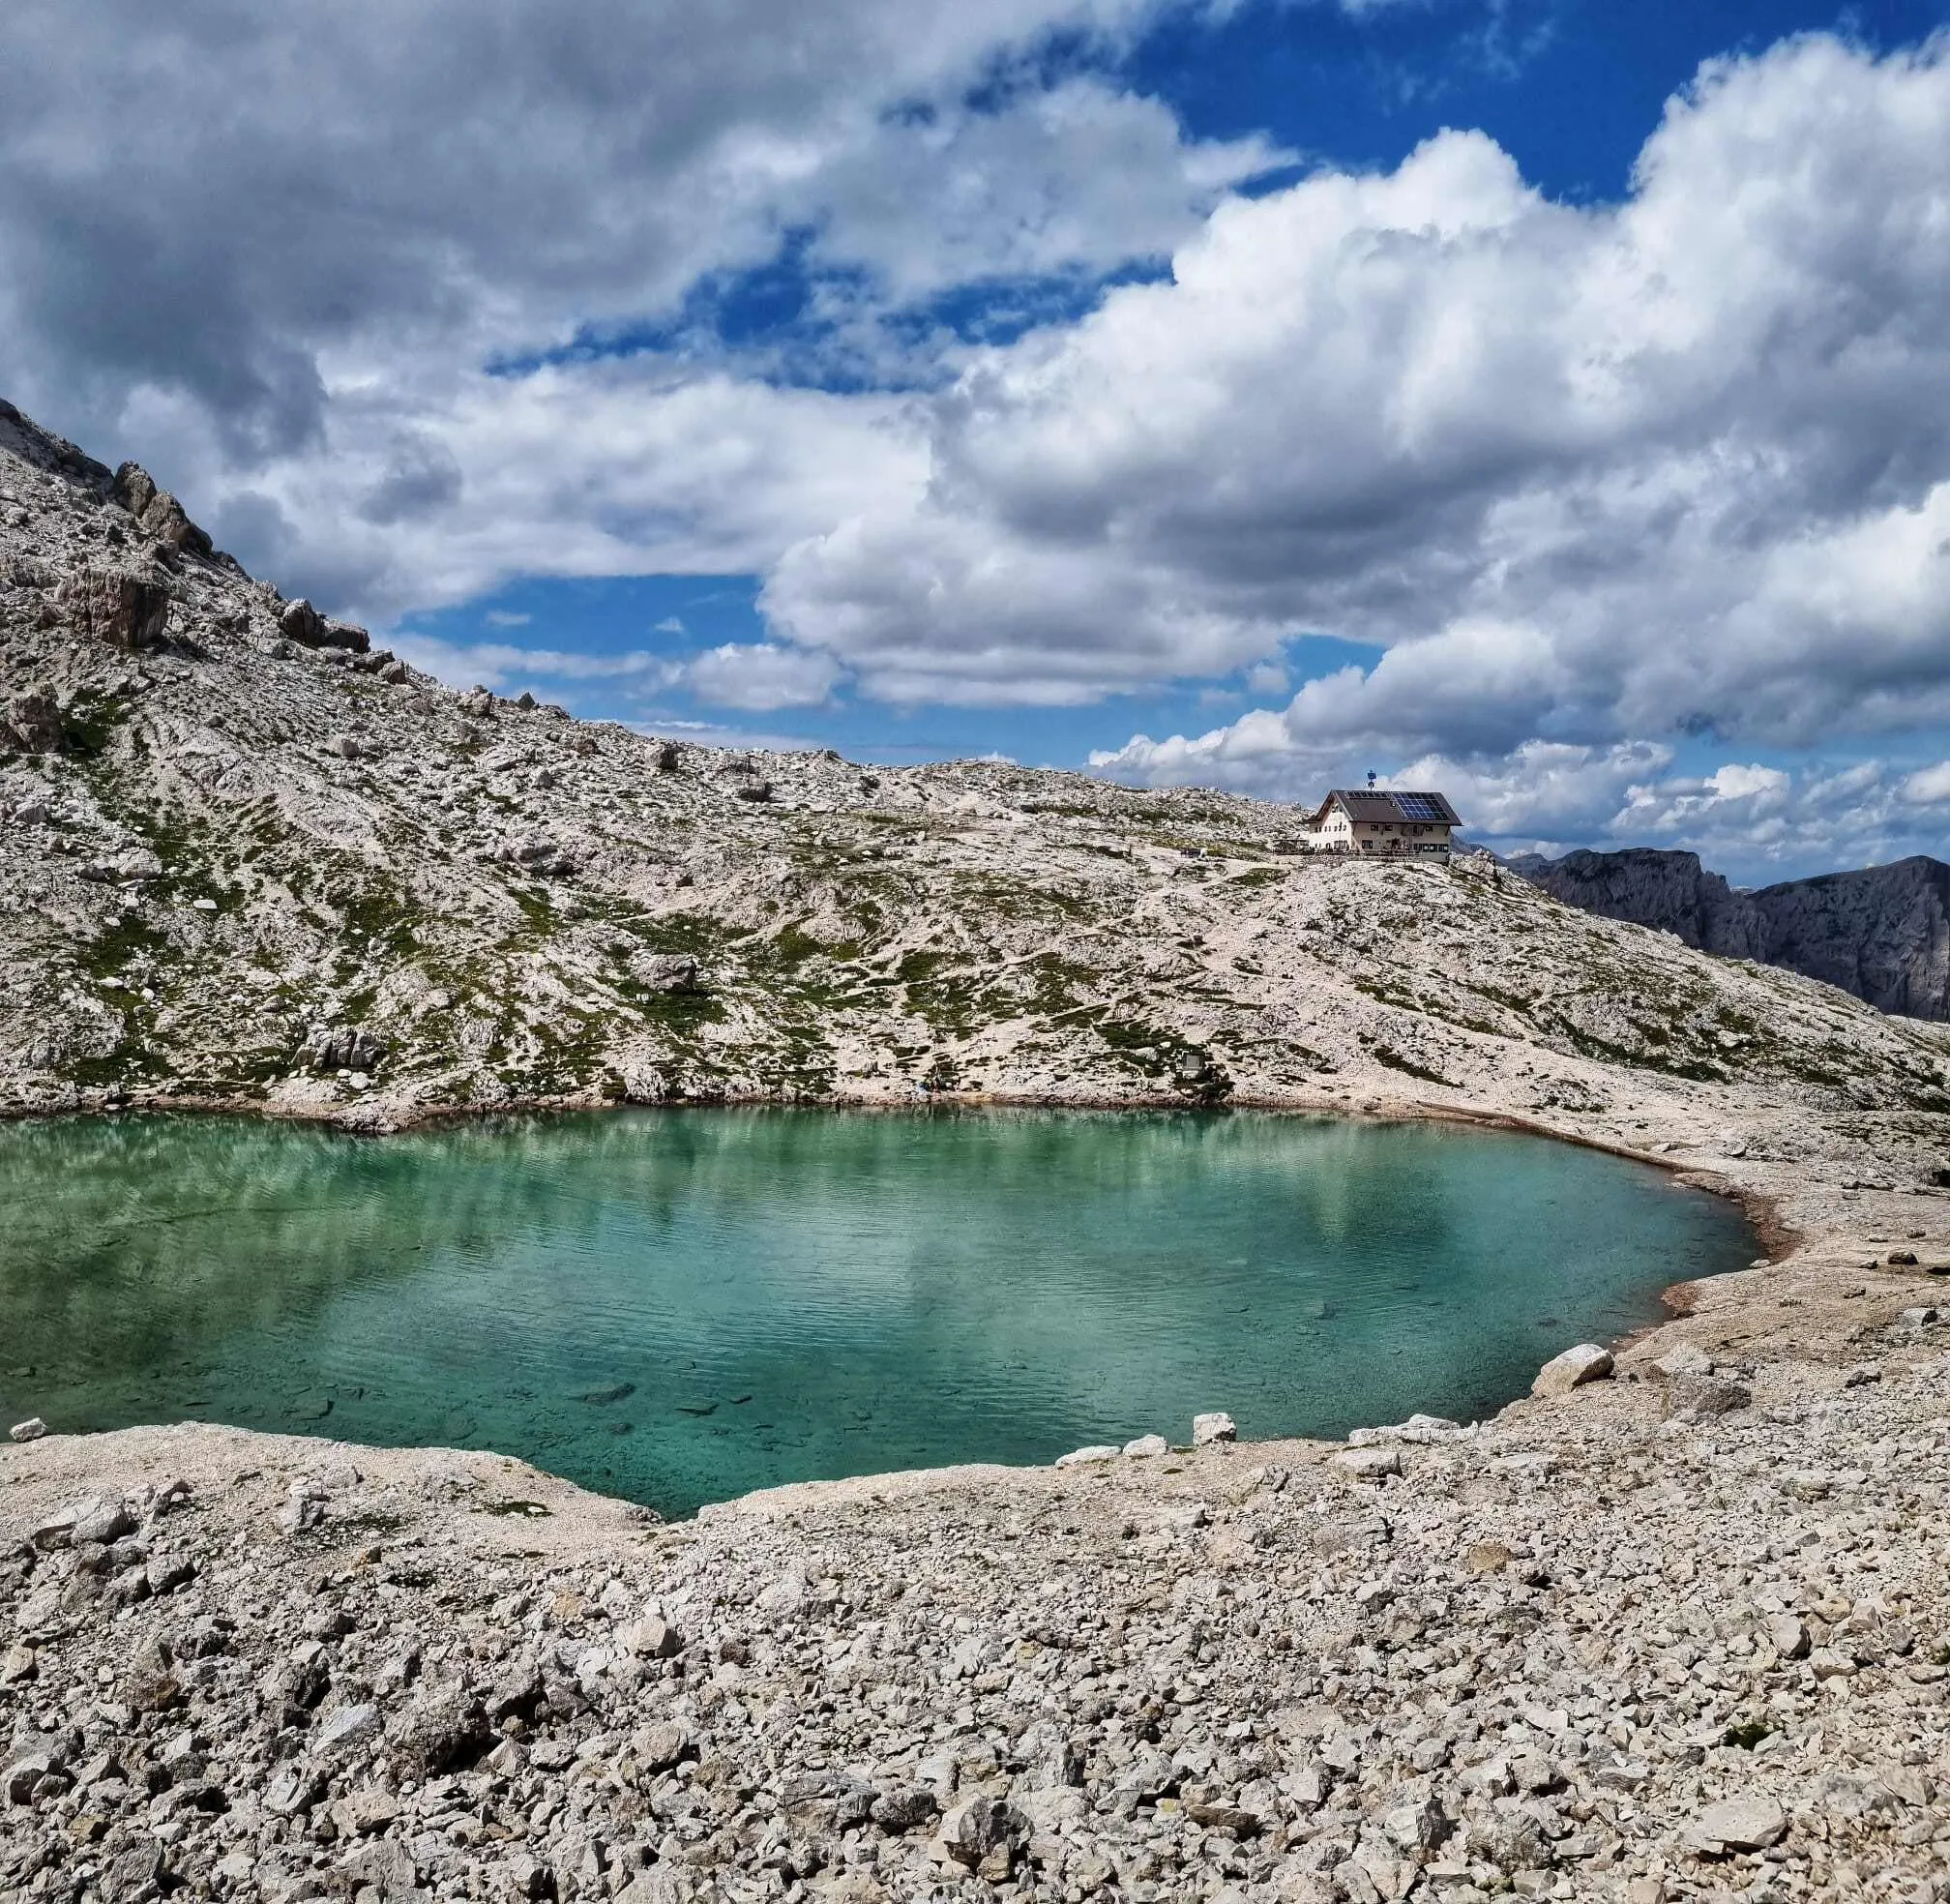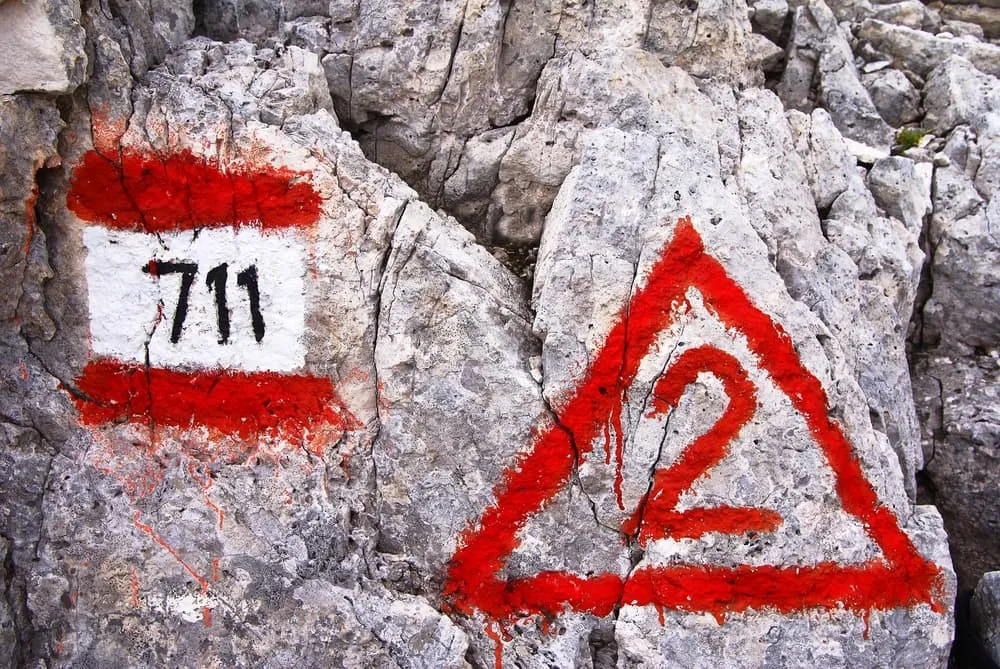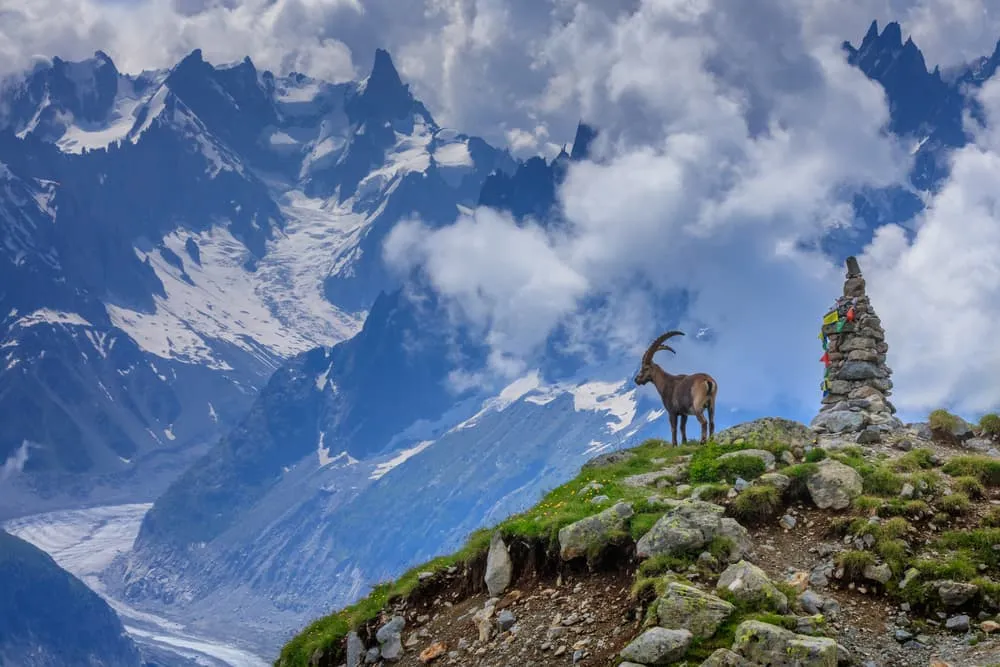

The Alta Via 2, the more adventurous of the Alta Via routes, is calling your name! This isn’t just any trail; it’s a true challenge through the rugged heart of the Dolomites. Picture jagged limestone peaks towering above you, each day bringing a new mix of steep climbs and thrilling ridgelines. And after those long days on the trail? You’ll relax in rustic mountain huts and enjoy South Tyrolean meals. If you're looking for hut to hut hiking Dolomites style, this is it. The Alta Via 2 isn’t for the faint-hearted, but for those craving an authentic wilderness adventure. And trust me, this trek delivers. Big time.
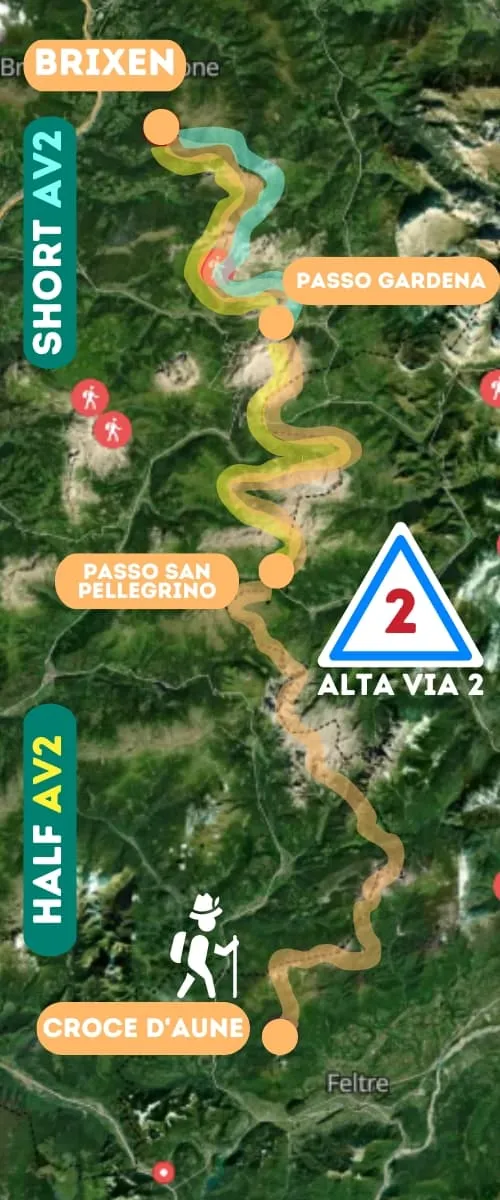
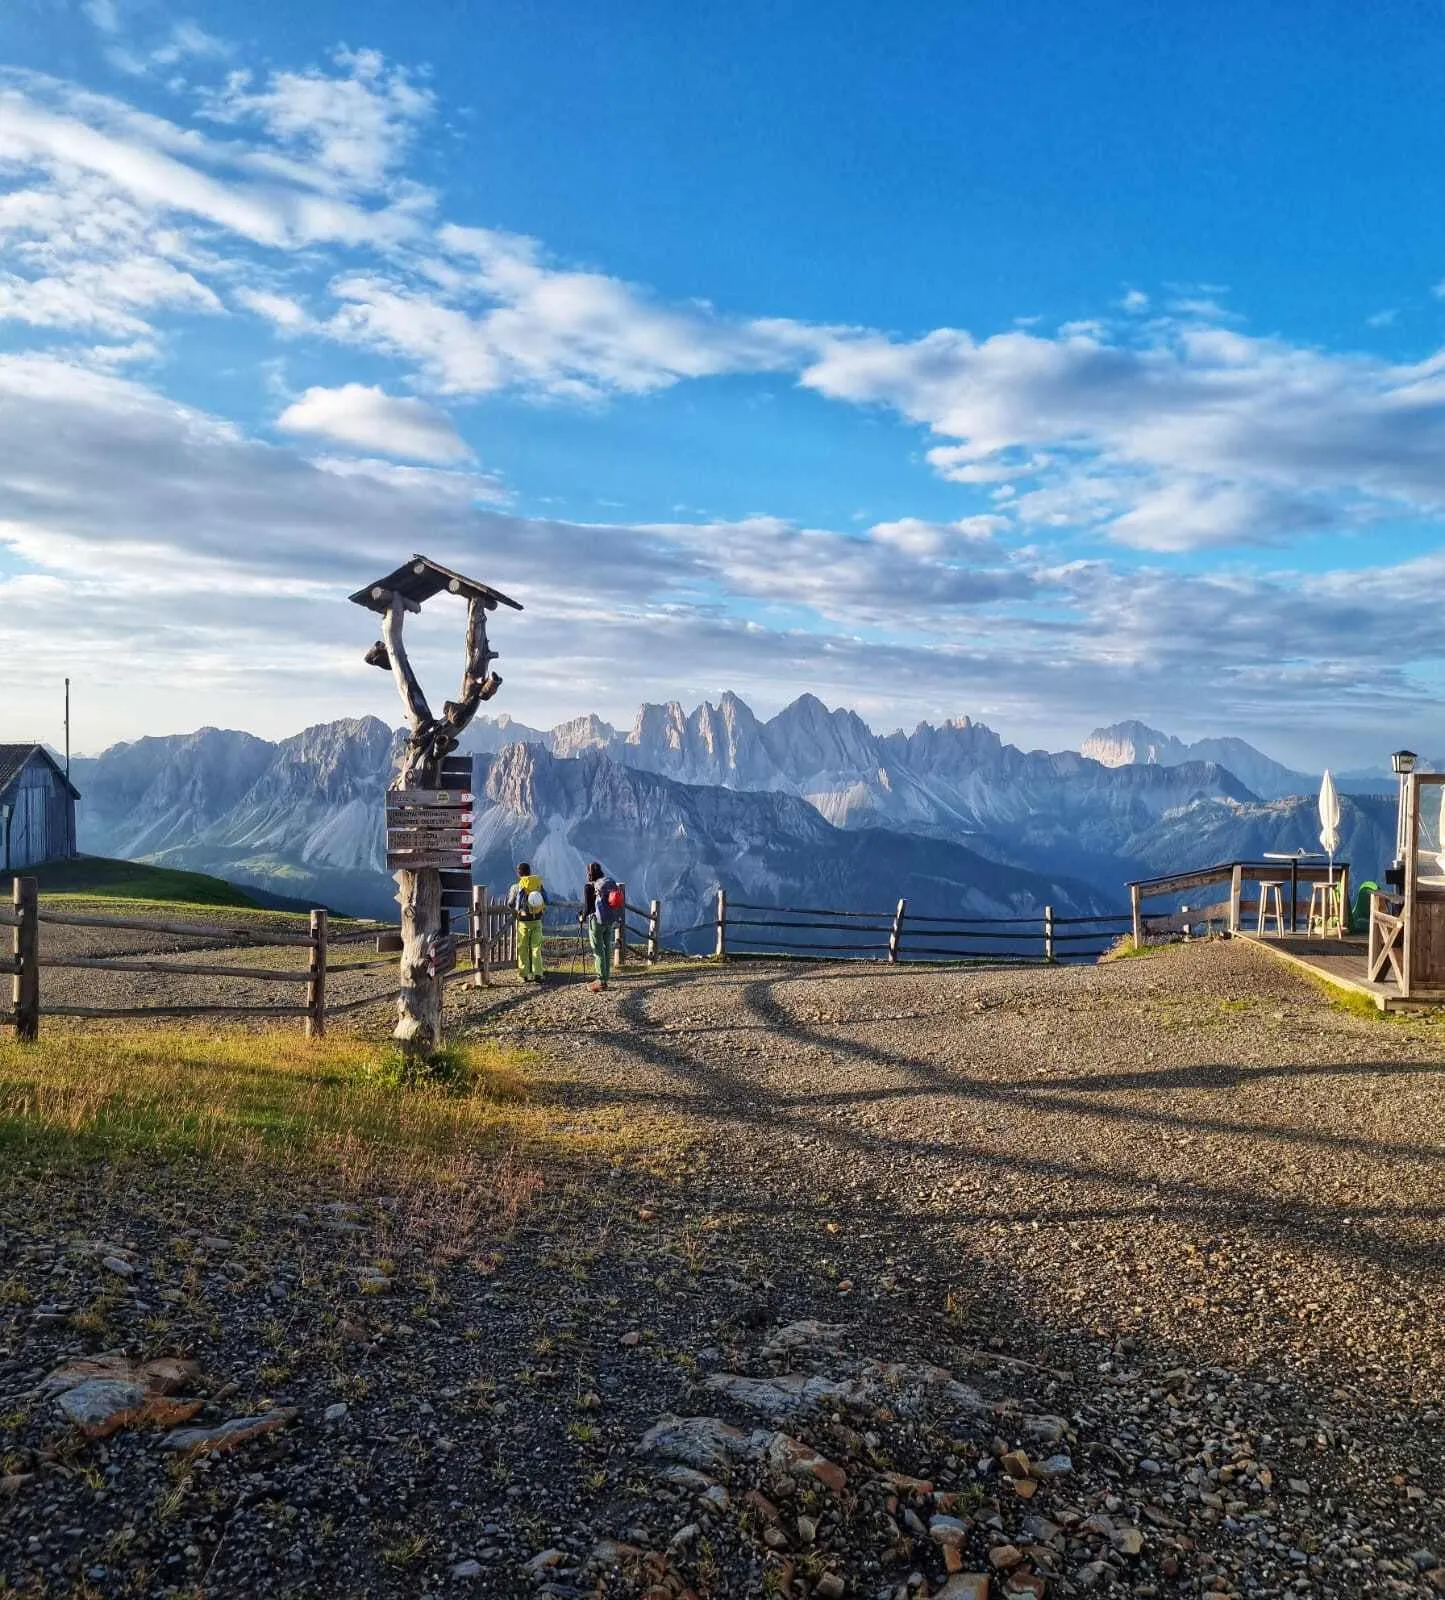
In this blog, we'll guide you through the route’s difficulty, different itinerary options, and what it's like to stay in remote rifugios high in the mountains. Every year, we help countless trekkers book their accommodations along this beautiful, quieter path, as well as in many other popular trekking routes in Europe. If you’re ready for a demanding journey through some of the most stunning landscapes in the Dolomites, we’ve got your back! With the right preparation, any trek is possible.